Showing posts with label Breakfast. Show all posts

Tuesday, 12 August 2014

Toddler Muffins

Hi Friends!
I know it's been about a year and a half since I posted a recipe but I've had a busy life since my last post - I had a baby! She's almost a year old now and I was making some muffins for her this morning and thought I would share the recipe with you. I wanted to make her some muffins that were healthy but delicious and not too much work on my part. The basis was my mom's banana muffin recipe with a whole bunch of tweaks, additions and deletions. They are delicious. I am going to make another batch for me for breakfasts. They are sweet because of the fruit but only have 1/2 cup added sugar. I used coconut oil instead of vegetable oil to make them a bit healthier and added oats for fibre and iron. I used regular all purpose flour but you could substitute in half a cup of whole wheat flour if you wanted. I hope you like them!
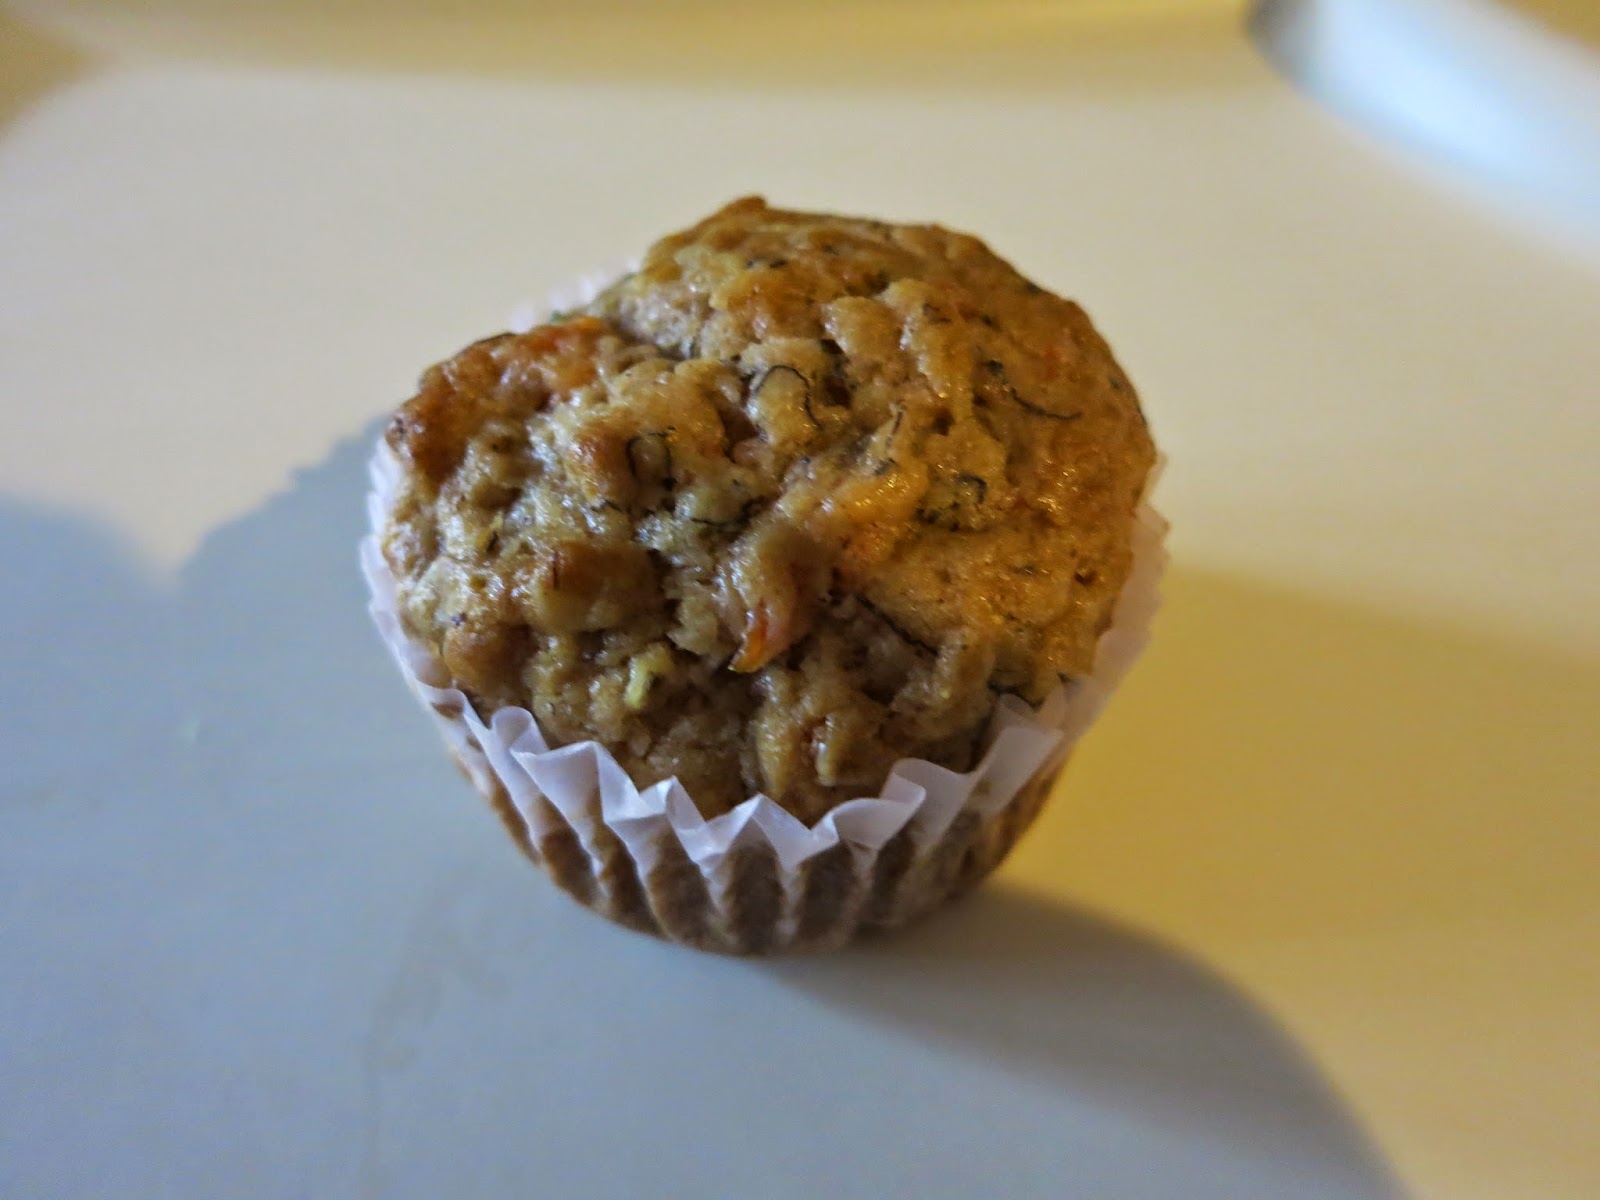

Toddler Muffins
Prep: 15 minutes | Bake: 15-18 minutes | Yield: 1 dozen

Ingredients
1 very ripe banana, mashed
Unsweetened applesauce (approx. 2/3 cup)
6 TBSP coconut oil, melted and cooled
1/2 cup lightly packed golden sugar
1 egg, well beaten
1/4 cup grated carot
1 tsp vanilla
1/2 tsp salt
1 1/2 cups all purpose flour
1 tsp baking soda
1 tsp baking powder
1/4 cup quick oats
sprinkle cinnamon

Method
1. Put banana in a one cup measuring cup. Add enough applesauce to make 1 cup. Stir
2. Mix together coconut oil and brown sugar in a medium bowl. Add egg and vanilla and stir well. Add in banana/applesauce mixture and carrots and stir well. Set aside
3. In a separate bowl, mix together salt, flour, baking soda, baking powder, oats and cinnamon
4.Mix dry ingredients into wet and stir gently until just moistened. Do not overmix!
5. Spoon into lined muffin tins and bake at 375 degrees Fahrenheit for 15-20 minutes. SHould be golden brown on top when done.

 These muffins freeze well, or stay fresh stored in a freezer zip-top bag for 4 days max.


Sunday, 12 August 2012

Featured Recipe

This idea came about from a conversation with my brother-in-law (who is also a bit of a foodie) who was telling me about savoury waffles. We had quite the conversation about all the different kinds that could be made and, to be honest, he beat me to the punch and made ham, cheese and broccoli waffles a few months ago. I made these tonight and they were really, really good! I made a bell pepper sauce to go on them which just rounded out the whole flavour. If you're looking for a savoury option for breakfast (or dinner), these are the waffles for you!

Savoury Ham and Cheese Waffles with Bell Pepper Sauce

Ingredients (waffles:)
1 1/3 cups flour
2 tsp baking powder
1/2 tsp salt
1/8 tsp paprika
1 1/4 cups milk
5 TBSP vegetable oil
2 eggs, separated
150 grams of sharp cheddar cheese
6 slices deli ham, coppped

Method:
1. Mix dry ingredients in a large bowl. Set aside
2. Separate the eggs. Put the egg yolks in a medium size bowl, beat with a fork and set aside. Put the egg whites in a glass bowl and beat with a mixer until stiff peaks form. Set aside
3. Mix the remaining wet ingredients, except egg whites, into the bowl with the egg yolks. Add the ham and the cheese
4. Make a well in the dry ingredients and pour the wet into the well. Mix gently until everything is incorporated. Gently fold in the egg whites
5. Cook on a hot, non-stick Belgian waffle maker (round waffles with really big "holes"). Cook until deep golden. Serve with bell pepper sauce (recipe follows)


Ingredients (sauce)
1 each red and poblano peppers, roughly diced
1/2 green pepper
1/4 small red onion, roughly diced
1 splash grapeseed oil
1/4 tsp dried oregano
1/2 tsp Johnny's Garlic Seasoning
1/2 tsp each salt and pepper
1/2 vegetable (or chicken) bouillon cube
1/4 cup water

Method:
1.  Heat the grapeseed oil in a large pan. Cook the peppers and onion for about 5 minutes, until soft.
2. Add the remaining ingredients (except the water) and cook for about 3 minutes more. Turn off the heat.
3. Add the water to de-glaze the pan. Pour into a large bowl and puree with a hand blender (or use a regular blender) until pureed (but don't make it super smooth, you want it to have some texture). Serve warm over fresh waffles.

Waffles with the sauce on top

This sauce would also be really good on pizza.


Saturday, 14 July 2012

Featured Recipe

For some reason, I have a lot of eggs in my fridge. And they will all hit their expiry date before the end of the month and I didn't want them to go bad. Solution: crustless quiche! The nice thing about a crustless quiche is that it is way lighter and does not have the heavy greasiness of a pastry crust, so it is nice even on a summer day.  Plus, it takes way less time to prepare. A meat thermometer is handy for this dish as the eggs need to be at least 160 degrees Fahrenheit to be fully cooked but not over 180 or they will turn kind of rubbery. 


Crustless Quiche

Ingredients:
6 large eggs
2 TBSP 1% milk
salt and pepper to taste
1/4 green (or red) pepper, finely diced
1 cm wide section red onion, finely diced
1/4 cup bacon bits
1/4 cup grated cheddar cheese
cooking spray or vegetable oil

Method;
1. Pre-heat the oven to 400 degrees F
2.  Crack eggs into a medium size bowl. Whisk with a fork together with salt, pepper and milk. Set aside
3. Spray a 9x9 pan with cooking spray (or brush lightly with vegetable oil). Put peppers, onion and bacon in the bottom of the pan and pour the egg over top
4. Top with grated cheese and bake for 20 minutes (eggs need to be at least 160 degrees F but not more that 180 degrees F) 
5. Let cool for 5 minutes, then cut into squares


Here are a few other flavour variations to try:
  • mushroom, spinach and gruyere
  • ham, broccoli and swiss
  • sundried tomato, basil, mozzarella
  • turkey sausage and monterey jack cheese
  • mild Italian sausage (pre-cooked), red pepper, parmesan and mozzarella 

Sunday, 17 June 2012

Featured Recipe

Today's recipe is a variation on basic baking powder biscuits but they are more like a scone than a biscuit. They are sweet but not too sweet and have a pleasant texture. They are particularly good warm from the oven with a bit of butter. I substituted vegetable oil for the traditional shortening as I hate cutting in shortening - it does give it a spongier texture than shortening, but it is much faster and less hassle.  I added Peach/Passionfruit curd that I had in my pantry, but you could add apricot or peach jam instead. The curd is nice because it is made with butter and it is not as sticky as jam. Lemon curd would be really lovely too. You could add blueberries or blackberries instead of raspberries if you wanted.   

Peach/Passionfruit Raspberry Biscuits

Ingredients:
3-3/12 cups all purpose flour
3 teaspoons baking powder
1 tsp salt
1 TBSP white sugar
1/2 cup vegetable oil
1 cup peach/passionfruit curd
3/4 cup milk
3/4 cup frozen raspberries

Method:
1. Mix together 3 cups of the flour, the baking powder, salt and sugar in a medium sized bowl
2. Add the veg oil, milk and fruit curd. Mix well. Add the frozen raspberries and mix well. The dough should be really soft and a bit sticky, If it is too sticky, add more flour
3. Gently pat about 1/2 cup of the dough into a disc about 1.5 cm thick and about 6-8cm in diameter. Place on an ungreased cookie sheet. Repeat with remaining dough, leaving about 3 cm between biscuits. It should make between 9-12 biscuits
4. Bake at 450 for 8 mins, then turn the pan 180 degrees (so the the biscuits that were at the front of the oven are now at the back) and bake for 5 mins more. They will be light golden on the top and a rich brown on the bottoms when they are done.
6. Let cool at least 10 mins before serving. Freeze any leftovers


Monday, 21 May 2012

Featured Recipe

Peanut Butter Banana Bread

I've had this recipe in my file for quite some time but only tried it for the first time yesterday. You should try it too because it is delicious. The recipe comes from Cooking Light Magazine and the link can be found here. I made a few changes to the recipe and it turned out really well (see the recipe below - the notes in blue are my changes). This bread is not super sweet, but the glaze is and makes it more like a cake than a loaf. It's really nice served with a scoop of vanilla ice cream 

Ingredients

  • Bread:
  • 1 1/2 cups mashed ripe banana
  • 1/3 cup plain fat-free yogurt (I used vanilla yogurt)
  • 1/3 cup creamy peanut butter 
  • 3 tablespoons butter, melted 
  • 2 large eggs 
  • 1/2 cup granulated sugar 
  • 1/2 cup packed brown sugar
  • 6 3/4 ounces all-purpose flour (about 1 1/2 cups)
  • 1/4 cup ground flaxseed (I don't like the texture of flax seed in things so I added an extra loose handful of flour)
  • 3/4 teaspoon baking soda
  • 1/2 teaspoon salt
  • 1/2 teaspoon ground cinnamon
  • 1/8 teaspoon ground allspice (This is a very strong spice - I used it but I would leave it out next time as I think it is a wee bit overpowering)
  • 2 tablespoons chopped dry-roasted peanuts (I omitted these and added 2 handfuls of chocolate chips instead) 
  • Cooking spray
  • Glaze:
  • 1/3 cup powdered sugar
  • 1 tablespoon 1% low-fat milk (I substituted for chocolate milk)
  • 1 tablespoon creamy peanut butter 
  • 1/4 tsp cocoa powder

Preparation

  1. Preheat oven to 350°.
  2. To prepare bread, combine first 5 ingredients in a large bowl; beat with a mixer at medium speed. Add granulated and brown sugars; beat until blended.
  3. Weigh or lightly spoon flour into dry measuring cups; level with a knife. Combine flour and next 5 ingredients (through allspice) in a small bowl. Add flour mixture to banana mixture; beat just until blended. Stir in nuts. Pour batter into a 9 x 5-inch loaf pan coated with cooking spray. Bake at 350° for 1 hour and 5 minutes or until a wooden pick inserted in center comes out clean. Remove from oven; cool 10 minutes in pan on a wire rack. Remove bread from pan; cool.
  4. To prepare glaze, combine powdered sugar, milk, and 1 tablespoon peanut butter in a small bowl, stirring with a whisk. Drizzle glaze over bread.

Saturday, 1 October 2011

Featured Recipe

My husband loves breakfast on the weekend. Fried egg sandwiches, egg wraps, bacon and eggs.....as long as it's savoury and includes eggs in some form. This was his suggestion last night (he makes the suggestions, I make them happen) and it was so worth it.

Breakfast Cups
Makes 6

Ingredients:
1 large yellow flesh potato (not a russet/baking potato)
6 eggs
2 slices deli ham
6 TBSP grated cheddar cheese
1 TBSP vegetable oil
salt and pepper to taste

Method:
1. Peel and grate the potato. Squeeze the excess liquid out of the potatoes. Heat the oil in a large non-stick skillet. Fry the potatoes with a little bit of salt until the potatoes are golden. The potatoes will tend to clump together and form "pancakes." This is okay - just keep cooking them until they're golden and then separate the "pancakes" into 6 equal portions
2. Spray 6 muffin tins with cooking spray. Equally divide the potatoes on the bottom of the cups. Divide the ham equally in each cup. Top each with an egg. Cover each with 1 TBSP grated cheese.
Bake at 325 for 15-20 minutes. The eggs need to be at least 160 degrees Fahrenheit (you don't want runny yolks).

Tuesday, 6 September 2011

Featured Recipe

Today's featured recipe is: Bacon, Potato, Cheddar muffins, courtesy of taste.com.au

http://www.taste.com.au/recipes/10440/potato+bacon+herb+muffins


I love to bake but my husband claims to not like sweets (though his favourite kind of pie is Pecan pie which is pretty much the sweetest pie there is). I've been on a bit of a muffin kick lately so he asked if I would make him some savoury muffins. This was his suggestion and I found this recipe right off the bat. Enjoy.

By the way, 180 degrees Celsius is 350 degrees Fahrenheit